Synthaar
Devlog 5 - Creating Object Meshes
Balancing new content versus adding features can be a very difficult thing to achieve. With the new milestone underway, it is important to focus on the aspects laid out in the roadmap, but also necessary to create new objects to not only support that gameplay but greatly expand the selection of objects one has to create and decorate their base. New objects also become important considering that one element of the current milestone is visiting community lots, which need a selection of objects to create variety from the typical residential home or base. In this dev log, I'll be showing my workflow for creating new 3D objects for Synthaar.
Synthaar's art style is a cross between voxel art and pixel art, with the characters represented with 2D sprites, and the objects within the world as 3D sprites. While 3D objects are voxel-esque, they're not true voxels as they are modeled, and sometimes break grid conventions when necessary to allow greater flexibility. However, in order to ensure every object fits within the world visually, I take careful considerations to ensure the texel density of every object remains the same. A pixel in the world or on a character is equivalent to a pixel on an object. For this dev log, I'll be creating a new stove.
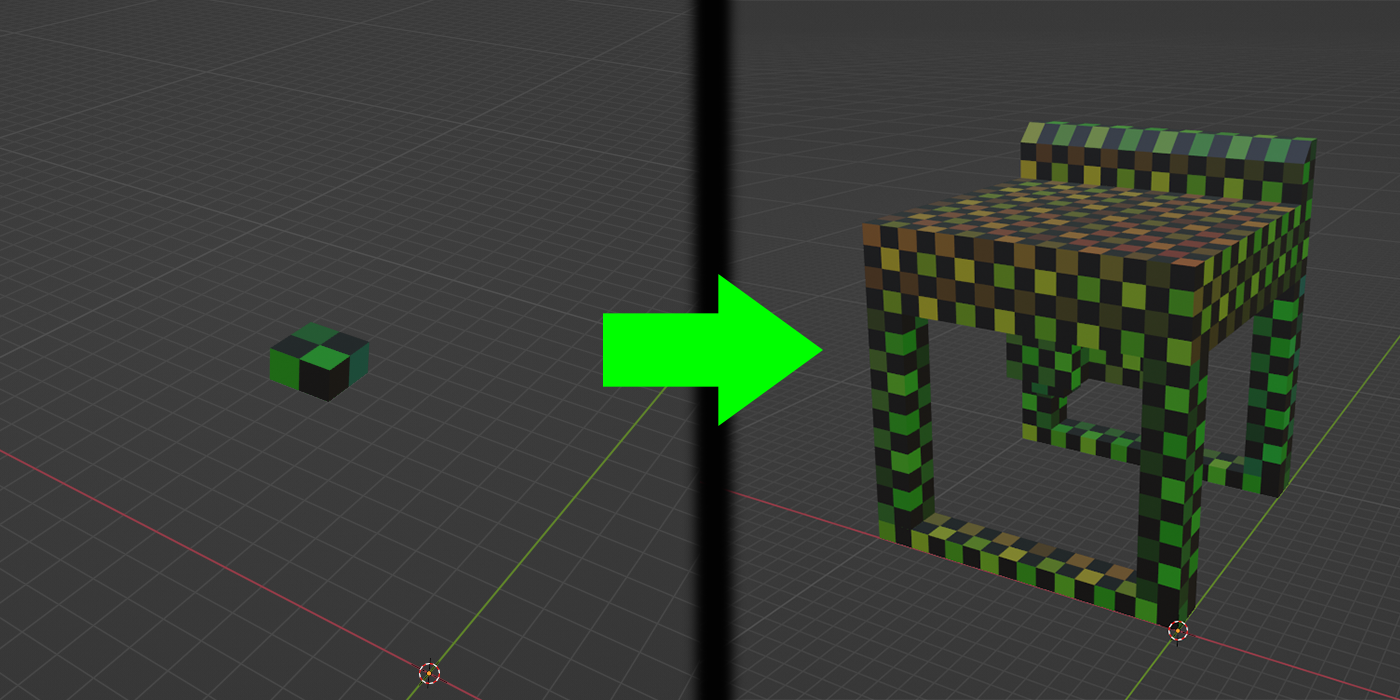
Keeping the UV maps perfectly aligned to the 16 x 16 grid of the game's art style can be a very tedious process, having to calculate the precision of the texture's density. Eventually while working on the models, I discovered a fascinating feature of Blender, which keeps the UVs intact even if you begin to adjust the mesh. This feature is enabled by selecting "Correct Face Attributes" in the options on the top right of the default editor while in edit mode. With this, I created a pre-calculated cube that is 2 x 2 x 1 in size, and I use this cube to construct the meshes step by step by using grid snap on the 16 x 16 grid. After I have completed the shape of the mesh, all I have to do is simply arrange the UVs to be neat and not overlapping, providing me with a new mesh fully unwrapped in a fraction of the time of unwrapping each one from the start.
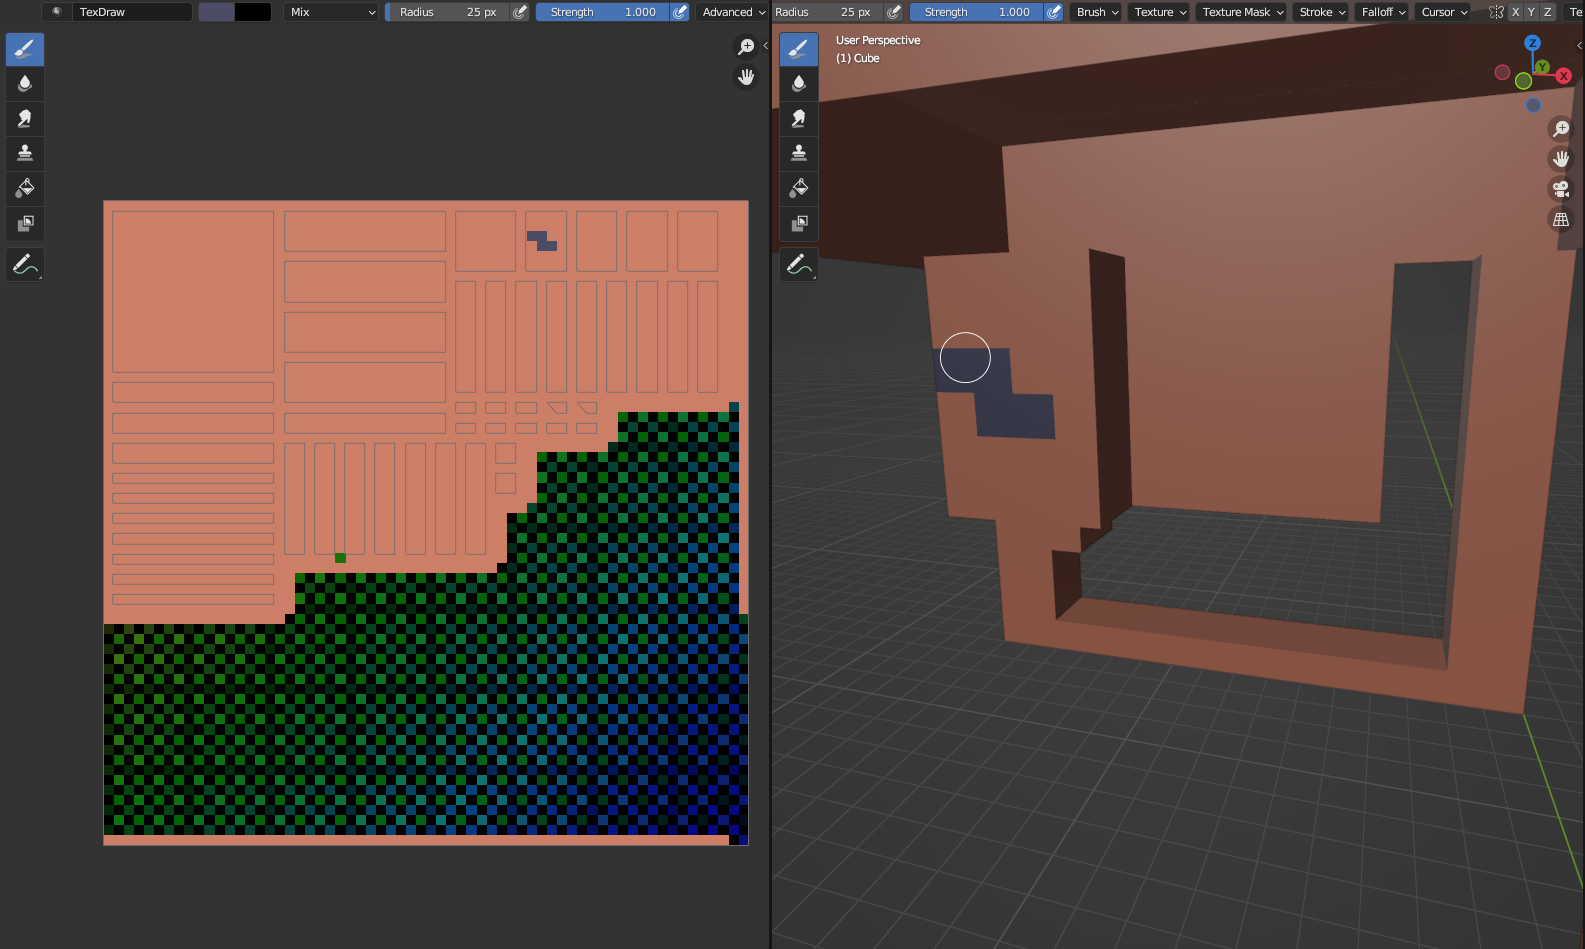
With everything in place, I opt to use Blender's texture painting feature to slap on the basic colors and designs, in tandem with a brilliant sprite editing program called Aseprite, which is available on Steam. Aseprite is the tool I use to create any of the 2D art in Synthaar, as well as do minute editing on textures for objects, as sometimes it can be difficult to work around tight bends, or repetitive faces, or more intricate designs that need a more robust tool, such as making paintings or complex surfaces. In the case of this stove I am working on, I did most of the detailing with Blender, cleaning up in Aseprite, and applying certain details like the top grill portion of the stove by copying it from the other stove object that Synthaar has.
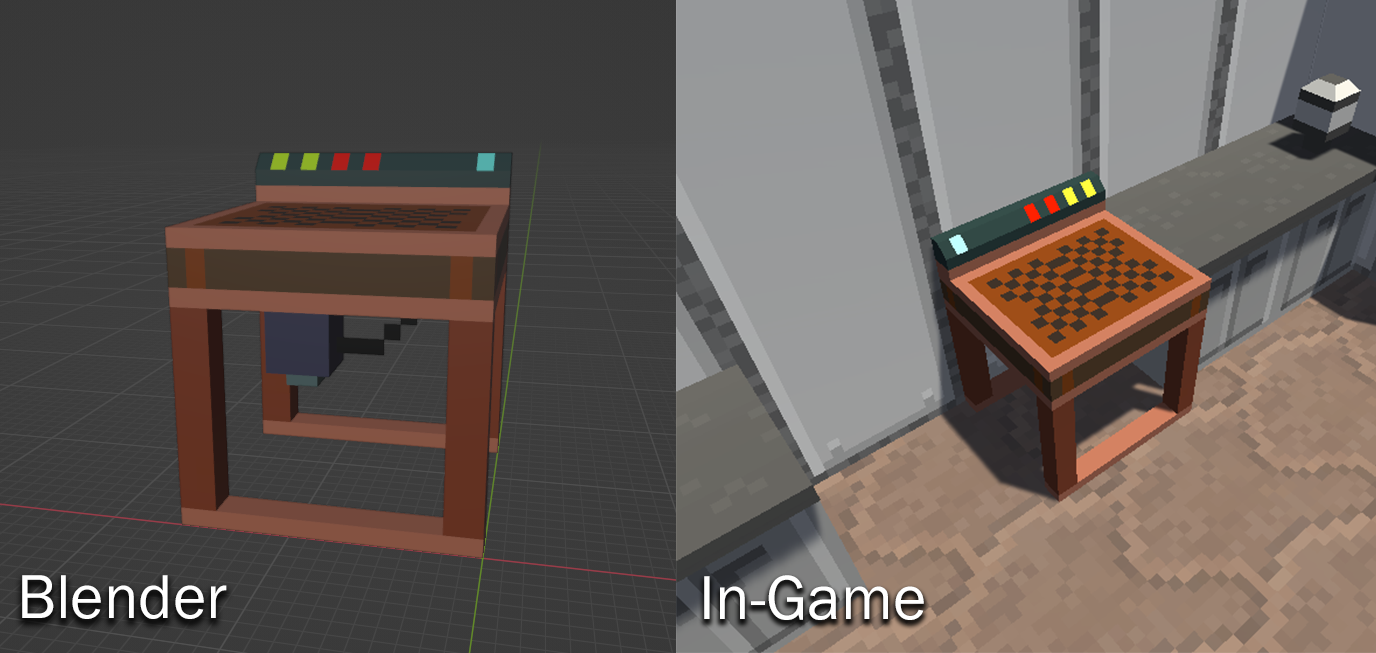
With the textures and mesh done, it's a simple matter to add the object into the game. Synthaar uses its own asset importing and loading methods to allow loading objects outside of the Unity project, which is a key part to Synthaar's moddability which will be given further detail in a future dev log. As a modder myself, I find it extraordinarily important to implement moddability into a game, as it opens the door for others to express their creativity, add content they'd like to see themselves, and perhaps give the opportunity for someone to learn from modding and create their own games one day!
Stay tuned every other week for a new Devlog regarding the development of Synthaar! Thank you so much to those who have been interested in my game. Please join our Discord for more information, and help us out by wishlisting Synthaar on Steam today!
Leave a comment
Log in with itch.io to leave a comment.